

Most post-launch SEO problems come from defaults that were never reviewed, not from anything you did wrong on purpose. The search engine visibility checkbox left on, the core sitemap competing with the plugin sitemap, the www and non-www both resolving without a redirect, the permalink structure set to “Plain” because nobody touched it. This WordPress SEO checklist for new websites covers the specific wp-config constants, plugin settings, and server-level checks to verify before a site goes live so you are not cleaning up indexing disasters the week after launch.
If you are handing this site off to a client, the last section is written as a client-friendly summary you can paste straight into a handoff document.
Why Pre-Launch SEO Prevents Most Post-Launch Problems
Every indexing problem I have cleaned up after a launch traces back to a default that shipped unchecked. The site went live with “Discourage search engines from indexing this site” still enabled. The staging environment got crawled because it was on a predictable subdomain with no auth barrier. Two sitemaps existed at the same time, one from WordPress core and one from the SEO plugin, and Google could not tell which was authoritative. The www and non-www versions both returned 200 status codes, splitting link signals across duplicate URLs.
None of these are advanced SEO problems. They are configuration problems, and they are preventable in the hour before launch, not the week after. The cost difference is significant. Fixing a noindex tag after launch takes two minutes. Recovering from three weeks of being deindexed while Google re-evaluates the site takes months. If this is a migration from an older WordPress install or another platform entirely, the stakes are even higher because you are transferring existing rankings, and a missed redirect or canonical mismatch can drop pages that were already performing. The same checks apply whether this is a brand new build or a redesign.
The Pre-Launch WordPress SEO Checklist
Work through these in order. The sequence matters because technical access problems invalidate everything that follows. If Google cannot crawl the site, your title tags and schema do not matter yet.
Technical Foundation
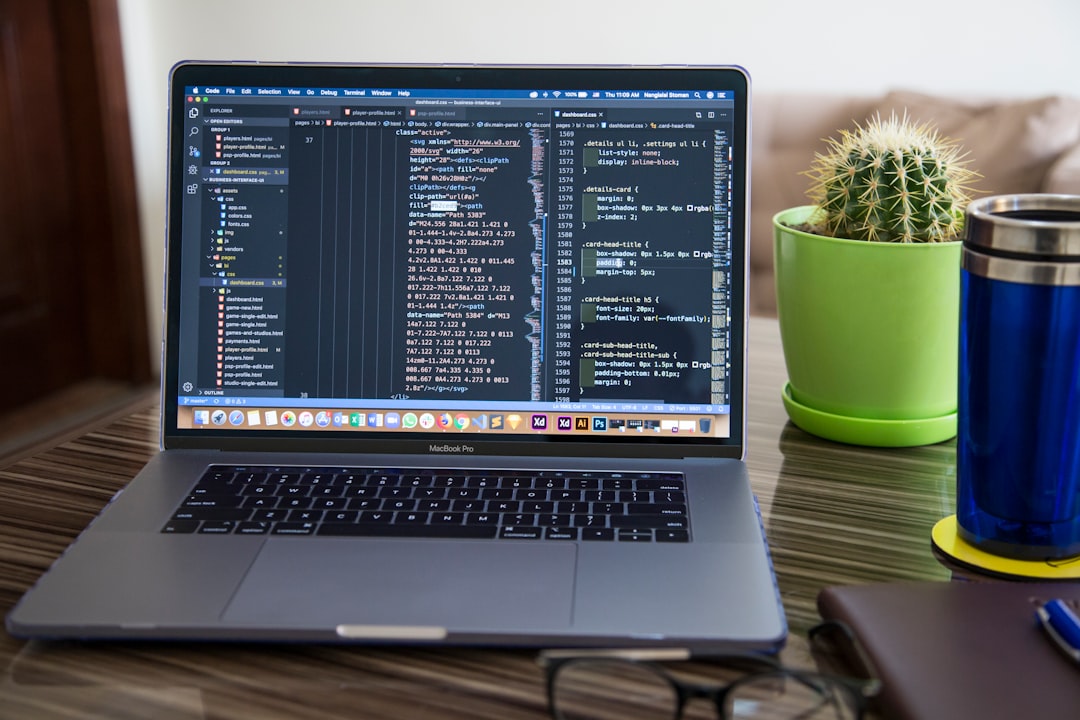
These are the server and wp-config level settings that determine whether search engines can reach the site at all.
- Set WP_ENVIRONMENT_TYPE to production. In wp-config.php, confirm
define( 'WP_ENVIRONMENT_TYPE', 'production' );is present. When this is set todevelopment, WordPress core automatically enablesWP_DEBUGand disables fatal error protection, which can leak stack traces to visitors. The WordPress developer documentation notes thatproductionis the default if the constant is not defined, but if a staging wp-config.php was copied to production, it may still carrystagingordevelopment. Verify with WP-CLI:wp eval 'echo wp_get_environment_type();' - Confirm WP_DEBUG is false on production. Check for
define( 'WP_DEBUG', false );in wp-config.php. IfWP_DEBUGis true andWP_DEBUG_DISPLAYis also true, PHP warnings and notices print to the screen, which can break page rendering and inject garbage into the HTML that search engines parse. - Enforce HTTPS at the server level, not just in WordPress. SSL should be active, and all HTTP requests should 301 redirect to HTTPS. Check this in an incognito window by typing
http://yourdomain.comand confirming it redirects tohttps://. Do not rely on a plugin alone for this. Nginx and Apache server configs are the correct enforcement layer. - Pick one canonical hostname and redirect the other. Decide whether the site lives at
www.yourdomain.comoryourdomain.com, then 301 redirect the non-preferred version to the preferred one. Both should not return 200. In Google Search Console, set the preferred domain to match. - Set permalink structure to Post name. Go to Settings, then Permalinks, and select “Post name.” This produces clean URLs like
/your-post-slug/. Do not use “Plain” (which produces/?p=123) or date-based structures unless there is a specific editorial reason. If this site is a migration and the old URL structure differs, you need a redirect map before launch, not after. - Confirm robots.txt is not blocking content. WordPress generates a virtual robots.txt file automatically. The default output blocks only
/wp-admin/and allows/wp-admin/admin-ajax.php. Fetchyourdomain.com/robots.txtin an incognito window to see what is actually served. If a physical robots.txt file exists in the site root, it overrides the virtual one entirely, and a leftover file from a security plugin or migration can silently block crawlers. If a physical file exists, read it and confirm it does not containDisallow: /. - Verify search engine visibility is enabled. Go to Settings, then Reading. Confirm “Discourage search engines from indexing this site” is unchecked. When this checkbox is enabled, WordPress sets
blog_publicto 0, which outputs anoindexdirective in the page head and changes the virtual robots.txt toDisallow: /for all user agents. This is the single most common post-launch indexing failure. Check it last, right before you flip the DNS.
On-Page Defaults
These are the sitewide settings in your SEO plugin that affect every page. Get them right once and you avoid fixing them page by page later.
- Install one SEO plugin, not two. Running Yoast and Rank Math at the same time causes conflicts in meta tags, canonical output, sitemaps, and schema. Pick one and configure it fully. The choice between Rank Math, Yoast, and SEOPress depends on your workflow and client count, but the rule is one plugin only.
- Set the homepage title manually. Do not let the homepage title pull from the site tagline by default. Write a custom title tag that reflects what the business actually does. This is the most visited page on the site and deserves a hand-written title, not a variable template.
- Configure title templates for post types. Set a sensible global template like
%title% %sep% %sitename%for posts and pages. Check the separator variable your plugin uses (Rank Math uses%sep%, Yoast uses%%sep%%). Confirm the template produces readable titles under 60 characters on a sample post. - Set archive indexing rules deliberately. In your plugin’s Search Appearance or Titles and Metas settings, set tag archives and date archives to noindex unless there is a specific reason to keep them. Single-author sites should noindex author archives. Category archives can stay indexable if the categories have real content and descriptive names. The mistake is leaving everything indexable by default, which creates thin duplicate pages in the index.
- Set a default Open Graph image. Upload a branded image at 1200x630px and set it as the default social sharing image in your plugin’s social settings. Without this, social platforms pull a random image from the page, which often looks broken or irrelevant when the site is shared for the first time.
- Verify canonical output on a sample page. Google recommends self-referencing canonical tags on every page, even when no duplicates exist. Open a sample post, view the page source, and search for
rel="canonical". Confirm the canonical URL matches the page’s own URL and uses an absolute path (https://yourdomain.com/post-slug/), not a relative path. Both Yoast and Rank Math generate self-referencing canonicals by default, but a misconfigured migration import or a conflicting theme function can override them.
Indexing and Search Console
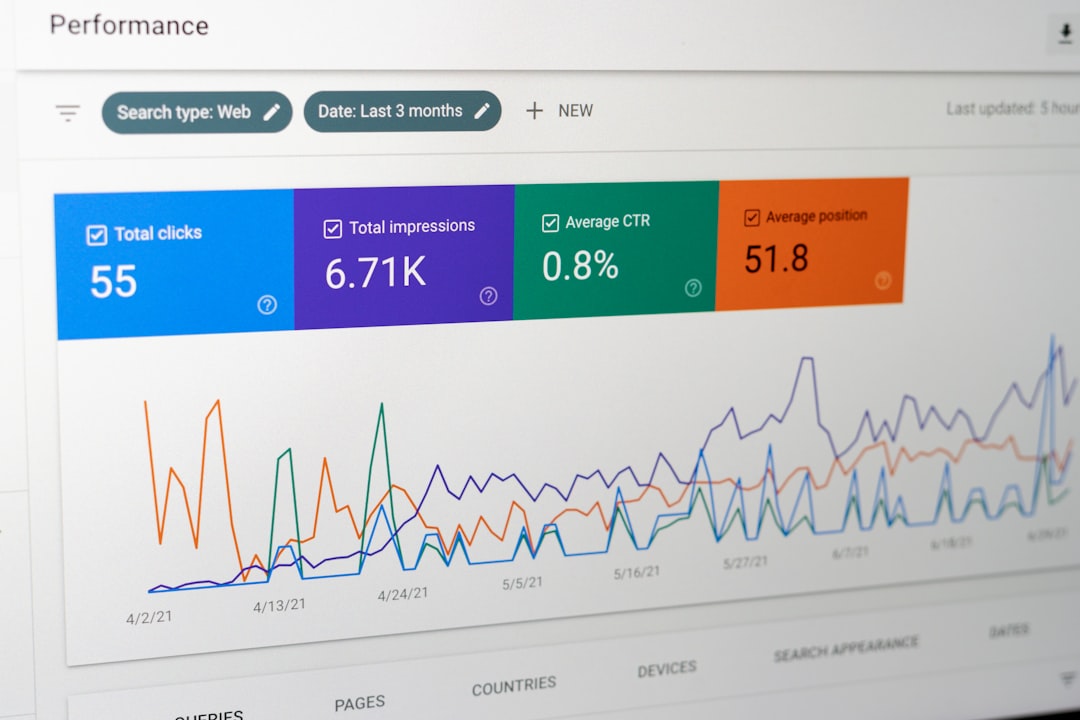
These checks confirm that Google can discover, crawl, and index the right pages from the first day.
- Disable the WordPress core sitemap if you are running an SEO plugin. Since WordPress 5.5, core generates a sitemap at
/wp-sitemap.xml. If Yoast or Rank Math is active, it also generates one at/sitemap_index.xml. Two sitemaps means Google has to choose, and the core version lacks lastmod dates, image support, and per-type exclusions. Most SEO plugins disable the core sitemap automatically, but verify by visiting/wp-sitemap.xmlin an incognito window. If it returns XML, the core sitemap is still active. Addadd_filter( 'wp_sitemaps_enabled', '__return_false' );to your theme functions or a must-use plugin to disable it. - Verify the plugin sitemap loads correctly. Visit
yourdomain.com/sitemap_index.xml(for Yoast or Rank Math) oryourdomain.com/sitemap.xml(for AIOSEO). Confirm it returns valid XML and lists the expected post types and taxonomies. Check that noindex pages are excluded from the sitemap. If you noindexed tag archives in the previous step, they should not appear here. - Create a Google Search Console property before launch. Set up a Domain property (requires DNS verification) because it covers all subdomains and both http and https in one property. If DNS access is not available, create a URL-prefix property for the exact production URL (
https://yourdomain.com/). You can verify ownership via HTML tag, HTML file upload, or Google Analytics, but Domain properties require a DNS TXT record. - Submit the sitemap in Search Console after launch. Do this on launch day, not before. Navigate to Sitemaps, paste the sitemap URL, and submit. This does not guarantee indexing, but it gives Google a direct path to discover your content. Monitor the coverage report over the following days to confirm pages are being indexed without errors.
- Check for noindex in the rendered HTML, not just the plugin dashboard. A plugin may say a page is indexable while a theme function or another plugin is injecting
noindexinto the page head. View the source of your homepage and a sample post, then search fornoindex. If it appears on a page that should be indexed, track down the source before launch.
Schema and Structured Data
Schema markup helps Google understand what type of page it is looking at, which can affect rich result eligibility. Set it up before launch so the site is eligible for enhanced search results from day one.
- Set the site-wide schema type. In your plugin’s schema settings, set the organization or person type that matches the business. A local service business should use
LocalBusinessor a specific subtype likeProfessionalService. A blog or publication should useOrganizationorPerson. Getting this wrong means Google may misclassify the site. - Add Organization schema with name, logo, and URL. Configure the organization name, logo URL, and official website URL in the plugin settings. This feeds Google’s knowledge panel and site name display in search results.
- Enable breadcrumb schema. Breadcrumbs help Google understand site hierarchy and can appear in search results. Most plugins generate breadcrumb schema automatically if breadcrumbs are enabled, but verify the output in the page source.
- Do not add schema types that the page does not support. If the homepage does not have FAQ content, do not enable FAQ schema on it. If the blog does not have reviews, do not enable review schema globally. Google validates structured data against visible page content, and mismatched schema can trigger a manual action.
| Schema Type | When to Use | Where to Set It |
|---|---|---|
| Organization | Corporate sites, brands, blogs | Plugin global schema settings |
| LocalBusiness | Physical locations, service businesses | Plugin global schema, verify NAP data |
| Article | Blog posts, news content | Plugin content type settings (usually auto) |
| BreadcrumbList | Any page with breadcrumb navigation | Plugin breadcrumb settings, verify in source |
| Product | WooCommerce product pages | WooCommerce + SEO plugin integration |
| FAQPage | Pages with real FAQ sections | Per-page, only when FAQ content exists |
Performance Baseline
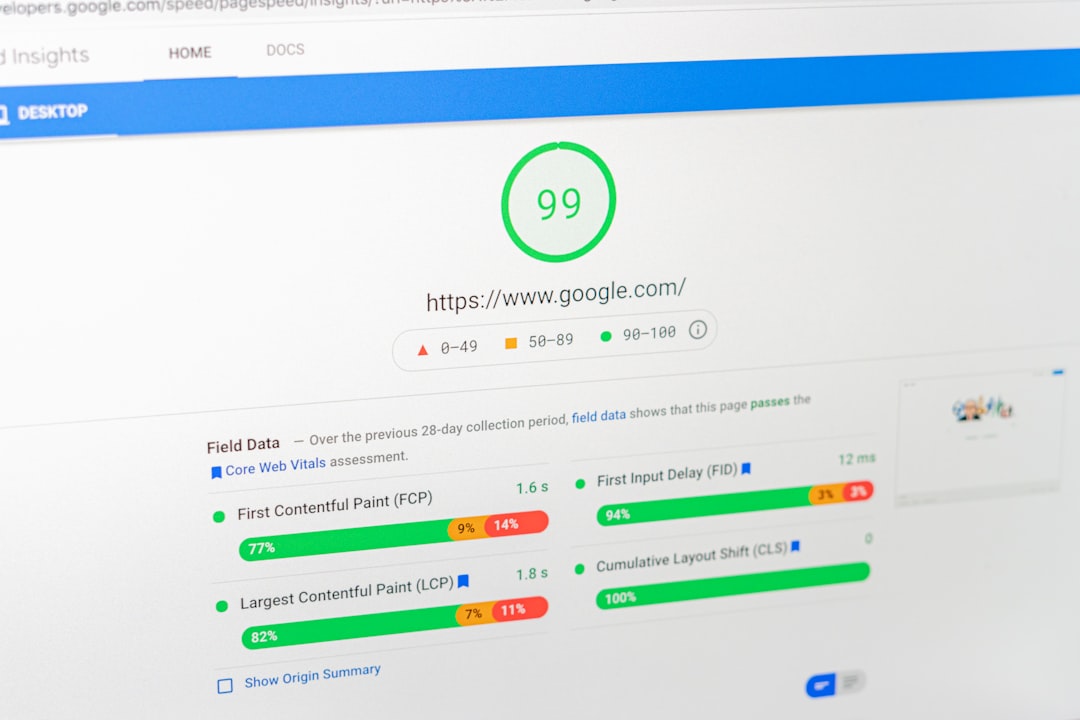
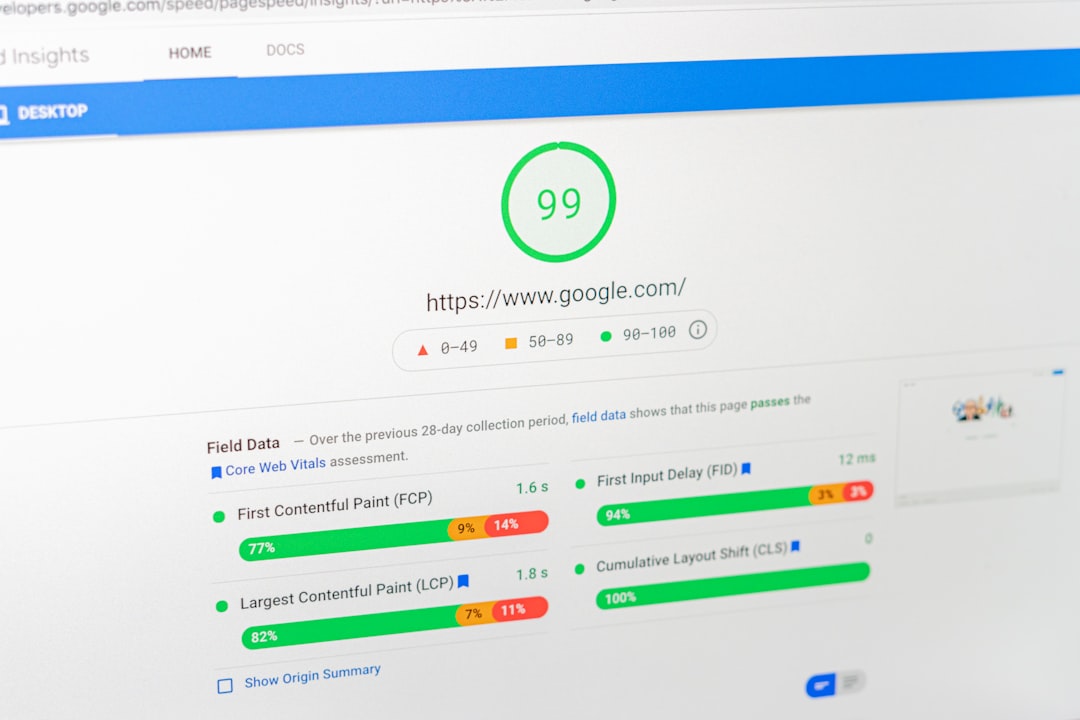
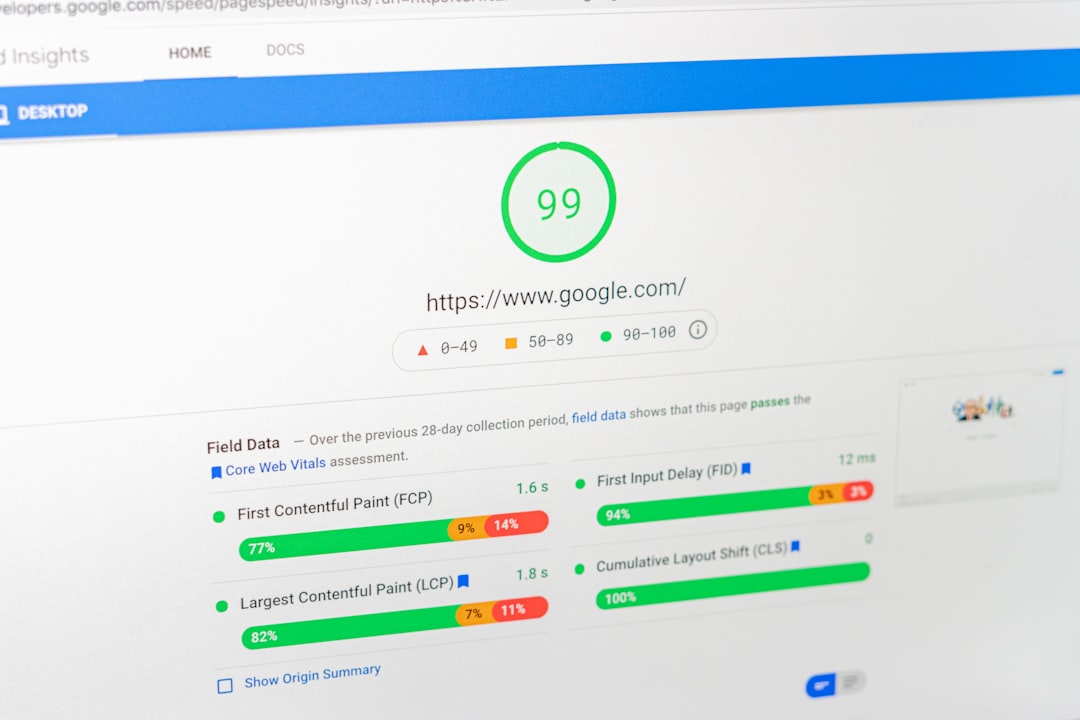
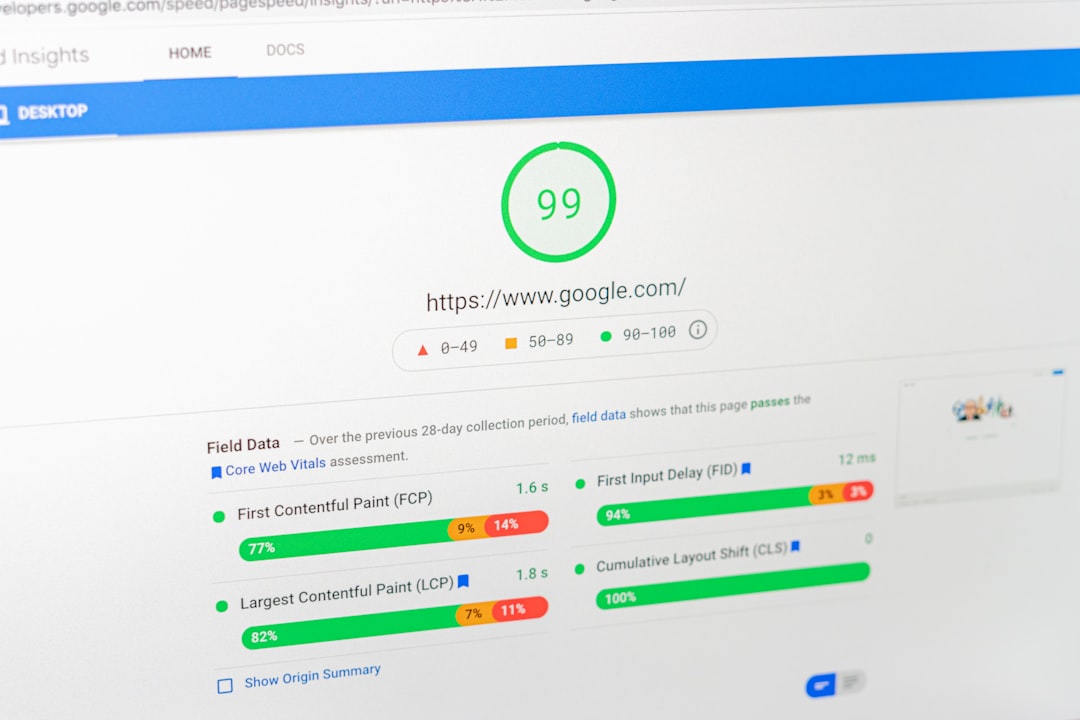
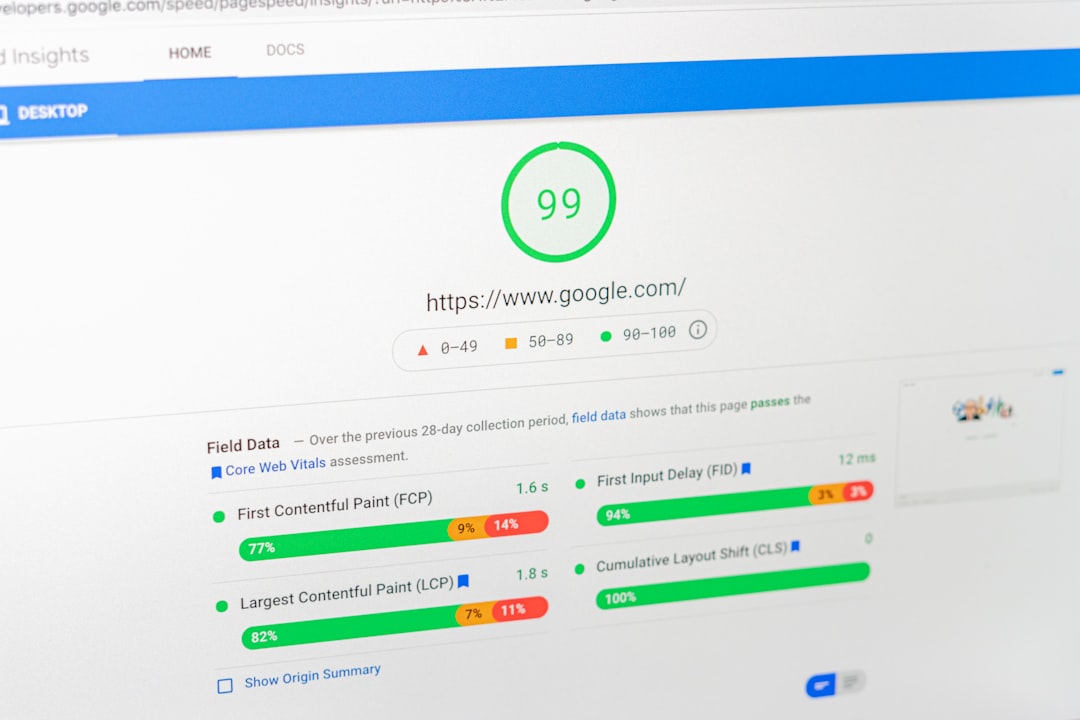
You do not need a perfect Lighthouse score at launch, but you do need a baseline so you can measure regressions later. A Lighthouse Performance score of 90 or above on mobile is excellent. Chasing 100 is not worth the time because scores fluctuate by 5 to 8 points between runs.
- Run Lighthouse on the homepage and one interior page before launch. Record the scores. This is your baseline. If the score drops after launch, you know something changed. Test in an incognito window with no extensions to get a clean reading.
- Compress images before upload. A 4MB hero image becomes 600-900KB as WebP, a 75-85% reduction. Use an image optimisation plugin to compress and generate WebP/AVIF versions. Set the max width to 2560px for full-width hero images. Enable lazy loading for images below the fold.
- Enable page caching. Whether through your host (WP Engine, Kinsta, Flywheel all have built-in caching), a plugin like WP Rocket, or a CDN like Cloudflare, page caching should be active at launch. Without it, every page request hits PHP and the database, which is unnecessary for a site with mostly static content.
- Audit plugin count. Every active plugin adds PHP execution time and potential script loading. Before launch, deactivate and remove any plugin that is not in use. A staging site accumulates plugins that were tested and abandoned, and those should not ship to production.
- Test mobile rendering. Open the site on an actual phone, not just a desktop browser with a resized window. Check for layout shifts, overlapping elements, and tap target sizes. Google’s mobile-first indexing means the mobile version is the version that gets evaluated for rankings.
Common Pre-Launch SEO Mistakes Developers Make
These are the mistakes I see repeatedly, usually because they are invisible until the site is live and the damage is done.
- Leaving “Discourage search engines” checked. The staging site had it enabled, the wp-config.php or database was cloned to production, and nobody unchecked it. The site launched with a sitewide noindex directive. Google dropped it within days. Fix: check Settings, Reading, Search Engine Visibility as the final step before DNS switch.
- Not redirecting www to non-www (or vice versa). Both versions return 200, so Google treats them as duplicate pages. Link signals split across both URLs. Fix: add a server-level 301 redirect from the non-preferred to the preferred hostname.
- Running two sitemaps simultaneously. Core sitemap at
/wp-sitemap.xmland plugin sitemap at/sitemap_index.xmlboth active. Google crawls both, wastes crawl budget, and may index URLs that should be excluded. Fix: disable the core sitemap when a plugin is active. - Using a permalink structure with query parameters. The site launches with
/?p=123URLs because nobody changed the default. Fix: set to Post name before any content is published. If changing after publication, create a redirect map. - Not testing redirects from the old site. On a migration, the old URLs need 301 redirects to the most relevant new URLs, not to the homepage. Mass-redirecting everything to the homepage is a soft 404 signal that Google penalizes. Test a sample of old URLs in an incognito window before and after launch.
- Forgetting to verify the rendered HTML. The plugin dashboard says everything is fine, but the page source shows a noindex tag injected by the theme or a conflicting plugin. Always verify in the source code, not the admin panel.
- Shipping a staging robots.txt to production. A security plugin or host created a physical robots.txt on staging that blocks all crawlers. It gets copied to production. Fix: fetch
yourdomain.com/robots.txtin an incognito window after launch and read what is actually served.
What to Hand the Client (Client-Friendly Summary)

Paste this into your handoff document. It is written for a non-technical client who needs to know what was done, why it matters, and what to watch for after launch.
SEO Pre-Launch Summary
- Search engine visibility is enabled. The site is not blocked from Google. This was verified in WordPress settings and confirmed in the page source code.
- URL structure is clean and consistent. All pages use readable URLs (for example,
/services/consulting/instead of/?p=42). The www and non-www versions redirect to a single preferred URL so they do not compete. - HTTPS is enforced. All traffic automatically redirects from HTTP to HTTPS. The SSL certificate is active.
- One XML sitemap is active. The sitemap has been submitted to Google Search Console. It includes the pages, posts, and taxonomies that should be indexed and excludes pages set to noindex.
- Duplicate content is controlled. Tag archives, date archives, and author archives are set to noindex where they do not add value. Canonical tags are present on every page and point to the correct URL.
- Schema markup is configured. The site is marked up with the correct organization type so Google understands what kind of business this is. Breadcrumbs are enabled.
- Page speed baseline was recorded. Lighthouse was run on the homepage and an interior page. Images are compressed and served in modern formats. Caching is active.
- Redirects from the old site (if applicable) are in place. Old URLs redirect to the most relevant new pages, not to the homepage.
What to watch for in the first two weeks after launch: Check Google Search Console for indexing errors. Look at the Pages report to confirm important pages are indexed. If you see a sudden drop in traffic or pages dropping from the index, the first thing to check is whether “Discourage search engines” was accidentally re-enabled after a plugin update or database restore.
Frequently Asked Questions
If you are managing launches regularly, the same questions come up from clients and team members. Here are the ones that matter most before go-live.
Need a Second Set of Eyes on a Launch?
If you are deep in a build and want a second set of eyes on the SEO configuration before the site goes live, WordPress SEO Expert can review the technical setup with you. We check the settings that cause indexing failures, canonical mismatches, and duplicate content problems so they do not surface as post-launch emergencies. Tell us about the site and we will help you separate high-impact fixes from the items that can wait. Book a free SEO consultation and we will walk through it together.
If the launch involves a domain change, platform migration, or URL structure change, the technical risks go up significantly. A technical SEO review before the switch can catch redirect gaps, canonical mismatches, and sitemap conflicts that would otherwise cost rankings. And if you want a broader framework for evaluating the site after launch, our guide on how to audit WordPress SEO walks through the same checks in an audit context. For a pre-launch checklist focused on ongoing rankings rather than launch defaults, see our WordPress SEO checklist for better rankings.
Frequently Asked Questions
Should I keep ‘Discourage search engines’ enabled during development?
Yes, on staging and development environments. When this is enabled, WordPress sets blog_public to 0, outputs a noindex directive, and changes the virtual robots.txt to Disallow: / for all crawlers. This keeps the staging site out of Google’s index. The critical step is unchecking it as the final action before the site goes live. Verify it in Settings, Reading, and confirm the page source no longer contains a noindex tag.
Should I use the WordPress core sitemap or my SEO plugin’s sitemap?
Use the SEO plugin’s sitemap and disable the core sitemap. WordPress core has generated a sitemap at /wp-sitemap.xml since version 5.5, but it lacks lastmod dates, image sitemap support, and per-type exclusions. Yoast and Rank Math generate richer sitemaps and usually disable the core one automatically. Verify by visiting /wp-sitemap.xml in an incognito window. If it still returns XML, disable it with add_filter(‘wp_sitemaps_enabled’, ‘__return_false’).
What happens if the site launches with ‘Discourage search engines’ still checked?
The entire site is deindexed. WordPress outputs a sitewide noindex directive and the robots.txt serves Disallow: / to all crawlers. Google will drop the site from its index within days. Fixing the setting takes two minutes, but recovering the indexing status can take weeks because Google needs to recrawl and re-evaluate the site. This is the single most common post-launch SEO failure.
Should I submit the XML sitemap before or after launch?
Submit it after launch, on the day the site goes live. Submitting before launch means Google will try to crawl URLs that may not be accessible yet or may redirect to a coming-soon page. After launch, go to Google Search Console, navigate to Sitemaps, paste your sitemap URL (usually /sitemap_index.xml for Yoast or Rank Math), and submit. Monitor the coverage report over the following days.
Do I need to set canonical tags manually on every page?
No. Both Yoast and Rank Math generate self-referencing canonical tags automatically by default, which is what Google recommends. You only need to override the default canonical when a page genuinely duplicates another page’s content, such as a filtered WooCommerce URL that shows the same products as the main category page. Verify canonical output by viewing the page source and searching for rel=canonical on a sample page before launch.



Pingback: How to Track WordPress SEO Results